You are here
Fire SimTable
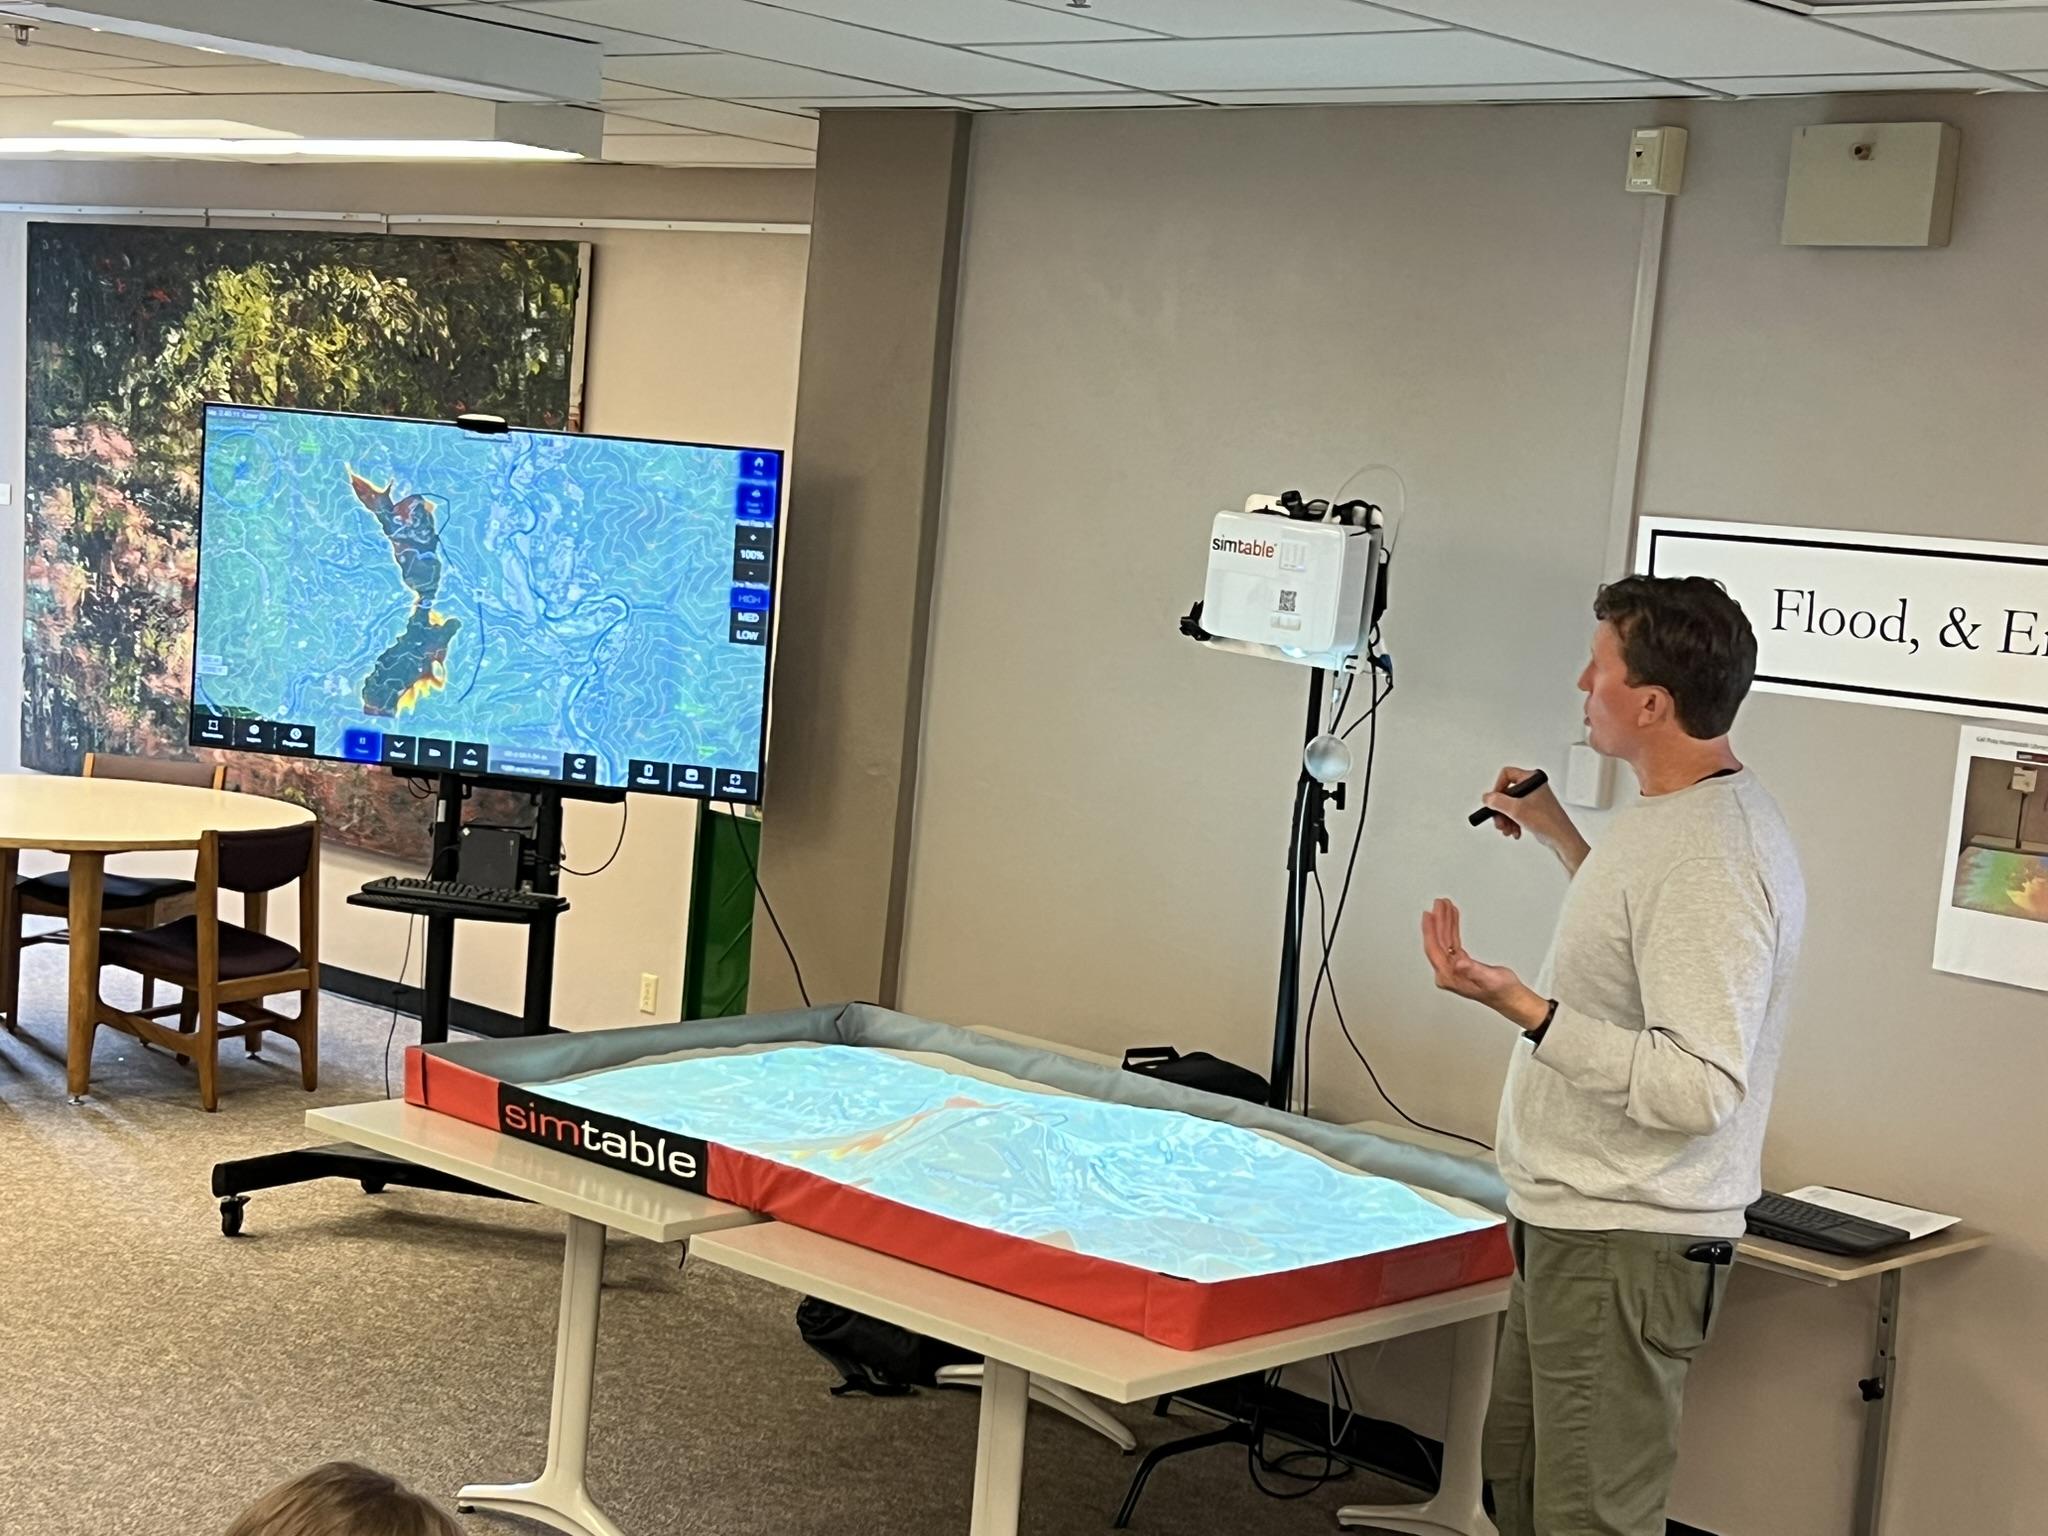
The Simulation table allows users to run a variety of simulations using the tools built into the program. The simulations are run in real time and can be slowed down or sped up to optimize the experience. The simulation is capable of changing many variables to see how they change the simulation over time.
Getting Started
Ensure that you have checked out the proper equipment. The Simulation Table is a system with multiple components, and its controls are kept at the Checkout Desk with the Digital Media Equipment. Inquire at the front desk about checking out the Simulation Table kit. After acquiring your equipment, remove the laser pointer, and turn on the keyboard. Wait for it to power up, then turn on both the projector and the computer. The main power button for the projector can be found on the front, just above the red light. Press it once to turn on the projector. The computer is behind the projector, at the top of the stand holding up the equipment. The power button is located at the top right corner of the computer: press it once to start up the computer.
Once the projector and computer are turned on, the AnyHazard program should already be running. If the projector displays a computer screen, use the trackpad on the keyboard to select the AnyHazard application from the taskbar. If the application does not open automatically, click on the link in Google Chrome.
From here, the application should display either a top-down map or a white rectangle. If the map is displayed, move to the Map Guide section. Follow the directions below if the projector displays a white rectangle.
The white rectangle means the table needs to calibrate. Before proceeding, flatten out the sand on the table; this will ensure a proper setup for the display. Once you have flattened the sand, press the spacebar on the keyboard to initiate setup. After going through a few sequences, the map should be displayed and you can begin using the table. Proceed to the Map Guide section.
